
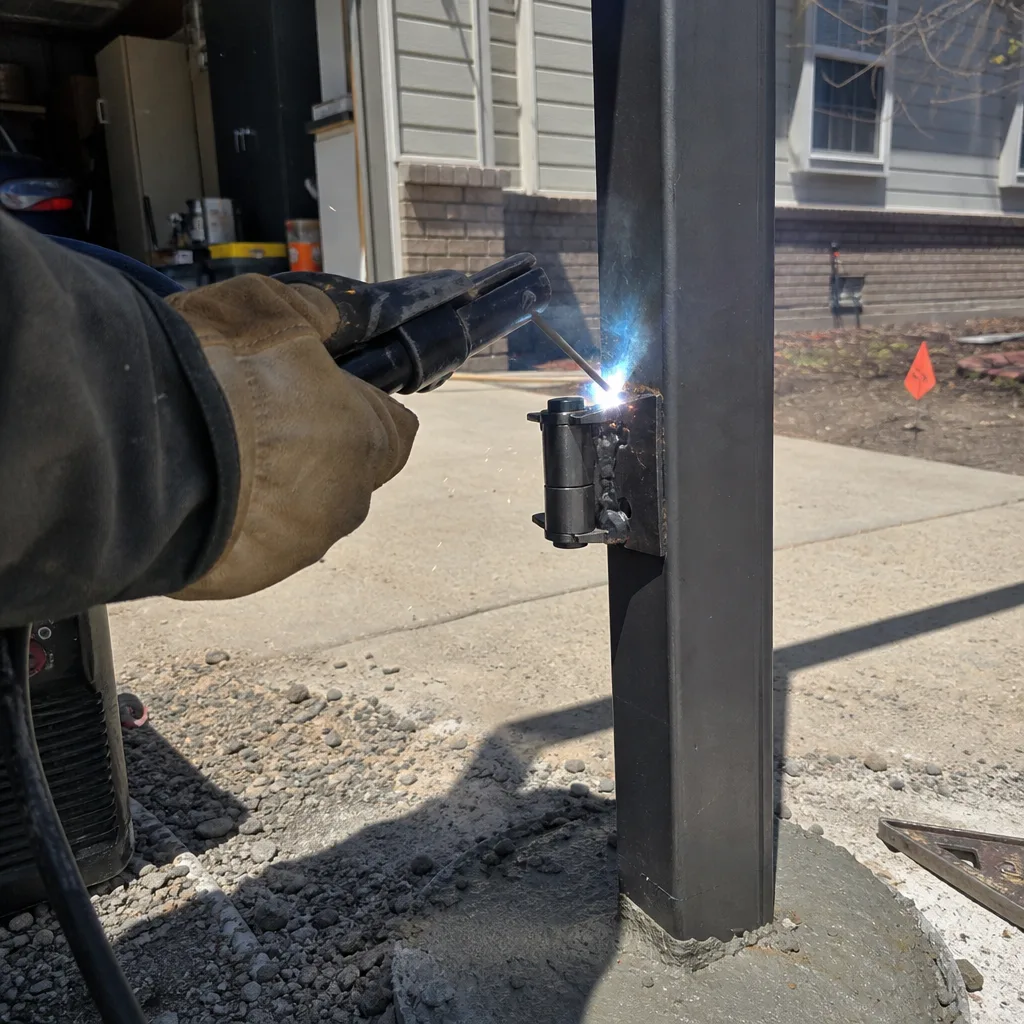
Last updated November 14, 2026
 Wrought iron
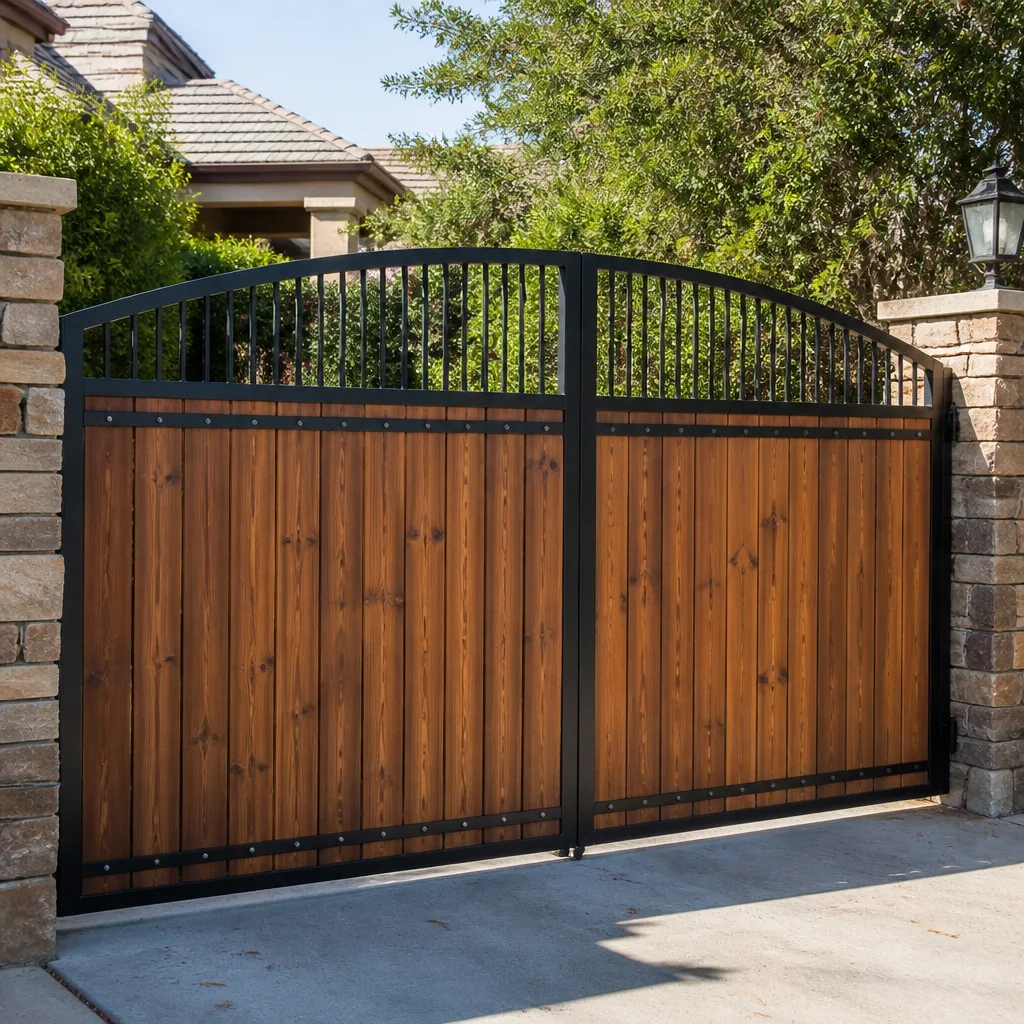 Wood & steel frame
 Farm & ranch
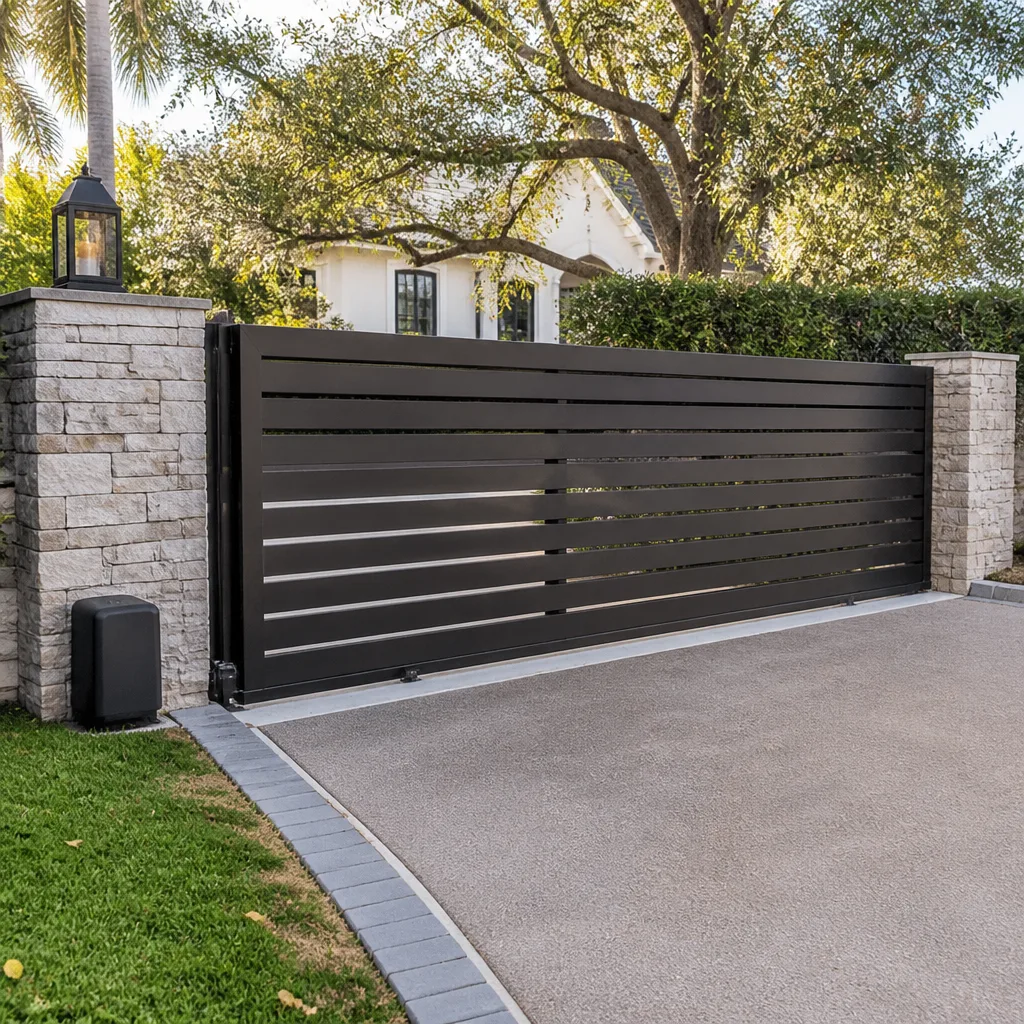 Sliding driveway gates
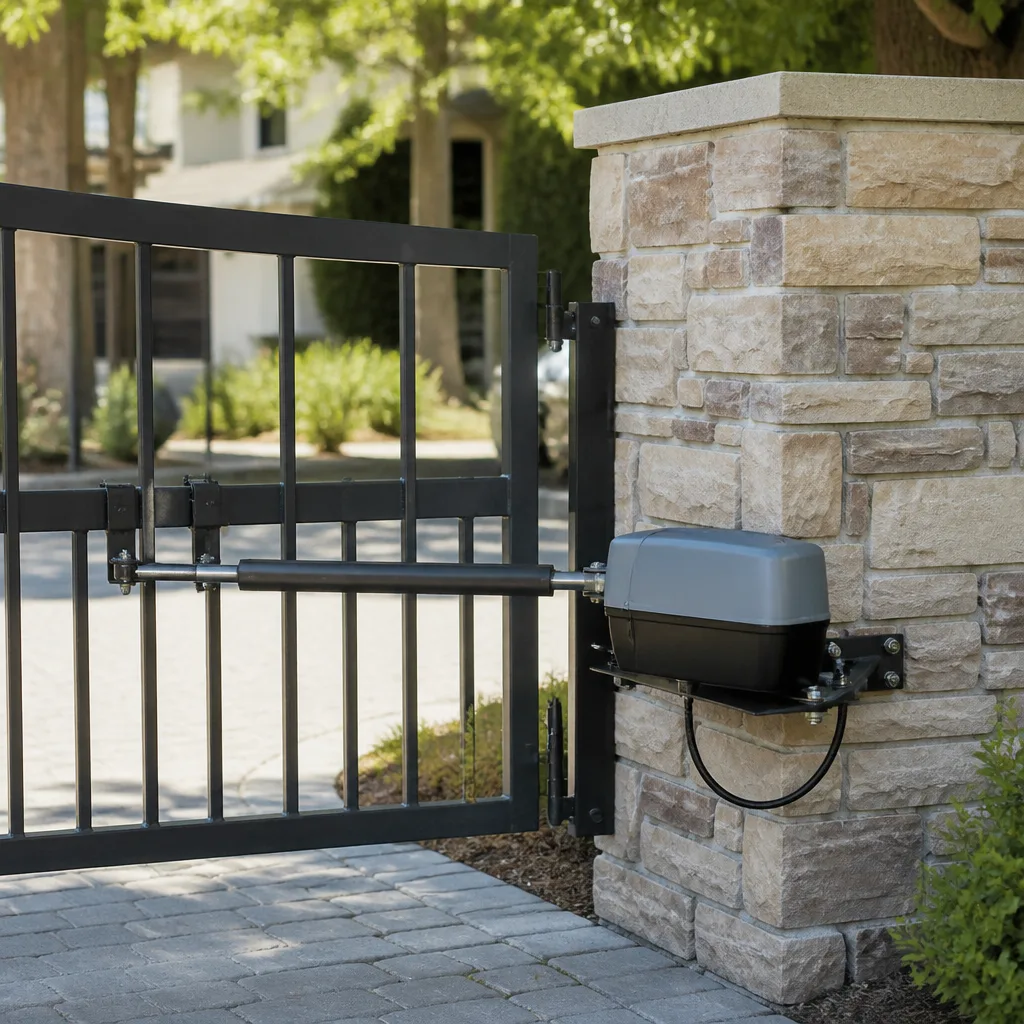 LiftMaster operators
Free on-site gate assessment - hinges, posts, and your LiftMaster or Nice gate operator checked before anything is quoted
The assessment is free and the quote is the invoice.
Get your free estimateGate Repair Troubleshooting in Denver: Common Problems and How to Fix Them
A gate that reverses before it closes and a gate that won’t open at all look like two different problems. Most of the time they’re the same fault: a limit switch that’s out of position or dirty. That misdiagnosis is why so many homeowners pay for a new operator when the old one was fine. Before you replace anything, you need to know which of six diagnostic categories your gate is actually in. This guide walks you through reading your gate’s symptoms the way a technician does, with the voltage and load checks you can safely run yourself, and a clear map of where to stop. We’ll also cover why Denver’s freeze-thaw cycle throws limit switches out of calibration every spring, and how to read the actual error codes on the operators installed most often around here. It’s written from a gate-only shop that works on gates across Denver, not from a symptom chart.
Quick Answer
Most gate failures fall into one of six categories: power supply, control wiring, operator motor or capacitor, limit switch calibration, mechanical obstruction, or access control and safety devices. Identifying which category you’re in before touching a part is what separates a $90 sensor adjustment from an unnecessary $700 operator replacement. If your gate moved fine yesterday, the problem is likely thermal or battery related; if it “works sometimes,” suspect intermittent power or a failing capacitor. Anything involving the operator’s high-voltage wiring or a heavy panel that could drop should go to a licensed technician.
Styles & brands we work with
- Wrought iron
- Wood & steel frame
- Farm & ranch
- Sliding driveway gates
- LiftMaster operators
Table of Contents
- The Six Diagnostic Categories
- The Three-Step Test You Can Run Safely
- “Works Sometimes” vs. “Worked Yesterday”
- How Denver’s Climate Throws Gates Out of Calibration
- Reading Error Codes on Common Operators
- What Voids Your Operator Warranty
- Manual Gates and Electric Systems Fail Differently
- Common Mistakes to Avoid
- When to Call a Professional
- Frequently Asked Questions
The Six Diagnostic Categories Every Gate Failure Falls Into
Every gate problem, from a swing gate that won’t latch to a slide gate that runs slow, traces back to one of six areas. Sorting your symptom into the right category first is the whole job. It’s also why a single-trade gate specialist tends to diagnose faster than a generalist who services five product categories: the decision tree is shorter when you only work on gates.
Here’s how the six categories break down, in the order a technician would check them:
- Power supply. The breaker, the transformer, the low-voltage run, or the battery backup. If the operator is completely dead with no display and no LED, start here.
- Control wiring. The low-voltage loop from keypad, push button, or loop detector to the operator board. A single nicked wire in this run can make a gate behave as if the operator has failed.
- Operator motor or capacitor. The gate hums but doesn’t move, or moves slowly, or stalls partway. On older units this is often a failing start capacitor.
- Limit switch calibration. The gate reverses before closing, stops short, or over-travels. This is a position-setting problem, not a motor problem.
- Mechanical obstruction. Track debris, a bent roller, a sagging hinge, a shifted post, or a wheel binding in the rail. The operator is fine; the gate itself is fighting it.
- Access control and safety devices. Photo eyes, safety edges, loop detectors, and keypads. A blocked or misaligned photo eye looks exactly like a randomly reversing gate.
When a call comes in, the symptom usually points to two adjacent categories, and the on-site test settles it in minutes. That’s the difference between replacing a part and diagnosing one.
The Three-Step Test You Can Run Safely
Before you call anyone, there are three checks a homeowner can run without opening the operator housing or touching line voltage. They cost nothing and give whoever you call a real head start.
- Manual release and swing test. Disengage the operator using the manual release lever or key, then move the gate by hand through its full travel. A properly balanced gate should move with modest effort in both directions. If it drags, binds, or drops at the end of travel, you have a mechanical or balance problem, not an operator problem. Re-engage the release when you’re done.
- Power and indicator check. Confirm the breaker is on and the operator has power. Most operators show a status LED or display on the control board. Note exactly what it does: solid, blinking, how many blinks, or nothing at all. Write it down. That indicator is the single most useful piece of information for a technician, and it takes ten seconds to record.
- Safety device scan. Look at the photo eyes or safety edges on both sides of the opening. Clear any obstruction, wipe the lenses, and check that the brackets haven’t shifted. Then press and hold the control and watch what the gate does. If it moves while you hold the button and reverses the moment you release, the problem is in the control logic or a safety device, not the motor.
Stop there. Opening the operator housing, probing the circuit board, or testing high-voltage terminals are steps for a trained technician. The operator’s incoming power is line voltage, and the motor and capacitor can hold a charge after the breaker is off. That’s a stop sign, not a challenge. For anything past these three steps, the safer path is to have a technician look at it as part of electric gate repair.
“Works Sometimes” vs. “Worked Yesterday”: Two Different Problems
The most useful question you can answer about your gate is whether it’s intermittent or suddenly dead. Homeowners often lump these together, but they point to different parts and different urgency.
Intermittent (“works sometimes”). The gate operates correctly, then doesn’t, then does again. The cause is almost always one of three things: a loose or corroded low-voltage connection, a failing start capacitor, or an intermittent safety device. A loose wire can make contact most of the time and break under vibration or temperature change. A capacitor on its way out will start the motor on a warm day and fail when it’s cold. None of these are emergencies, but they get worse, and a gate stuck halfway is a security problem for a property.
- Check and re-tighten terminal screws on low-voltage connections if you can reach them safely.
- Note whether failures happen at particular times of day or in particular weather, since that’s a strong clue for a technician.
- Treat a keypad that only sometimes works as a control-wiring symptom, not a keypad failure.
Suddenly dead (“worked yesterday”). The gate operated fine and now does nothing. Common causes are a tripped breaker, a blown fuse on the control board, a thermal cutout that tripped after heavy use and will reset once the unit cools, or a dead battery in a solar or battery-backup system. Thermal cutouts and dead backup batteries are the two most misdiagnosed failures we see. Both look like a dead operator and both are often resolved without a new unit.
One more point worth knowing: perimeter gates near Denver’s east-metro new builds come with a lot of Mighty Mule and Elite residential operators, and both depend heavily on a healthy battery or transformer. A low battery will run the gate a few times and then quit, which reads as intermittent to the homeowner and dead to the operator. Diagnosis in the right category saves the replacement.
How Denver’s Climate Throws Gates Out of Calibration
The soil under Denver moves. The freeze-thaw cycle that runs from late fall into spring heaves the ground, and gates sit on posts in that ground. A post that shifts even a fraction of an inch changes the geometry of the gate’s swing or slide, which changes where the gate sits in its track relative to the limit switches. The operator hasn’t changed, but the switch no longer senses the gate in the position it expects.
This is the seasonal pattern we see across the metro: a gate that ran all winter starts reversing before it closes, or stops two inches short, within a few weeks of the first sustained thaw. It’s not a failure in the usual sense. It’s calibration drift triggered by ground movement, and it’s one reason a spring adjustment visit is common here.
A few Denver-specific triggers to keep in mind:
- Spring thaw. Post heave and soil settling throw limit switch positions off. Recalibration is the fix, not a new operator.
- Hard freezes. A gate that binds in deep cold may have a moisture issue in the track or a hinge that needs attention. If it runs fine in warmer weather, note that for the technician.
- Summer heat and afternoon storms. Operators that run hot trip thermal cutouts more in July and August, and wind-driven debris collects in slide-gate tracks.
- Hail and wind. A strike can bend a bracket or nudge a photo eye out of alignment. Both cause the gate to reverse without warning.
Neighborhoods at the foot of the foothills and in newer developments on expansive soils see more of this movement than established areas on more stable ground. If your gate has ever needed adjustment after a wet spring, expect the pattern to repeat and plan for it. A technician familiar with how gates behave in Denver’s climate will check post and track alignment first, before assuming a part has failed. You can read more about how we approach gate repair if you want the service-level view.
Reading Error Codes on Common Operators
Blink codes are the operator’s own diagnostic, and reading them correctly is often faster than any test. The exact number of blinks and the display text map to specific causes, and those maps differ by manufacturer. Rather than guess from a generic chart, pull the code and match it to your operator’s manual. That said, a few patterns come up again and again with the brands installed most often around Denver.
LiftMaster and similar residential swing and slide operators use a diagnostic LED on the control board. A set number of blinks, repeated in a pattern, points to a category: obstruction, safety device, limit, or a board-level fault. When you record the blink count, the technician can often tell you the cause before arriving.
Apollo and US Automatic gate operators, common on older Denver installs, tend to report faults through a combination of LED patterns and a display code where a display exists. The codes map to specific conditions: a stuck loop, a safety-edge trip, an overload, or a limit fault. A gate that reverses on the way closed and a gate that won’t start at all can both read as limit or safety faults, which is exactly why the code matters more than the symptom.
FAAC and Elite systems report faults through their own display or LED schemes, and the cause is nearly always one of the six categories in this guide. On a FAAC swing operator, for example, a fault that appears only at the end of travel is almost always a limit or calibration issue rather than a board failure.
Whichever brand you own, write down the exact code or blink count before you touch anything. If you call us, that one detail lets us read the operator the way a technician would and saves time on the visit. We work on the brand you already own, whether that’s a LiftMaster, a FAAC, an Elite, or a Mighty Mule system, so the codes are familiar ground.
What Voids Your Operator Warranty, and What’s Owner-Safe
Manufacturer documentation is consistent on this point: the operator housing is meant for a trained installer, and the control board, high-voltage terminals, and motor are not homeowner service areas. Opening the housing to probe or replace components can void a warranty, and on newer units it can do so even if the repair succeeds. The safe zone for an owner is smaller than people assume, and worth pinning down.
Owner-safe, per typical manufacturer documentation:
- Using the manual release and checking that the gate swings or slides freely.
- Cleaning the track or rail, clearing debris, and wiping photo-eye lenses.
- Checking the breaker and resetting a tripped breaker.
- Recording error codes, blink counts, and status LED behavior.
- Replacing batteries in keypads, remotes, and solar or backup systems where the manual allows it.
Not owner-safe, and a warranty risk:
- Opening the operator housing and touching the control board or capacitors.
- Probing high-voltage terminals or attempting to rewire incoming power.
- Drilling or modifying the operator, gate, or mounting brackets.
- Adjusting limit switches on an unfamiliar operator without the manual in hand. On some units this is a documented owner adjustment; on others it isn’t.
If you’re unsure which side of that line a step falls on, the manual settles it. When in doubt, leave it. A technician can do the same work without risking the warranty. It’s one reason we recommend having a diagnosis done rather than a part replaced, so you only pay for what’s actually failed.
Manual Gates and Electric Systems Fail Differently
Manual and automated gates share the gate itself but fail in different places, and it’s worth knowing which you’re dealing with.
Manual swing and slide gates. The failure is almost always mechanical: a sagging hinge, a wheel that’s worn flat, a track that’s lifted at a joint, a latch that no longer aligns. These are load and wear problems. A gate that drops at the end of its travel needs hinge or post work, and a slide gate that binds needs its track and rollers checked. There’s no operator to blame, which makes the diagnosis simpler and the fix correspondingly direct.
Electric and automated gates. The gate may be mechanically fine while the operator, wiring, safety devices, or access control have failed. Automated systems add the whole control layer: keypads, remotes, loop detectors, safety edges, and the low-voltage wiring that ties them together. A single failed connector in that layer will disable an otherwise healthy gate.
On a slide gate, the most urgent mechanical failure is a gate that comes off its track. If your gate has derailed, stop using the operator. Running a slide gate that’s off its track can bend the operator arm or damage the motor. Disengage it if you can do so safely and call for a technician. On a swing gate, a panel that’s sagging or a hinge that’s pulling loose deserves the same caution, since a heavy panel that drops is a crush hazard. Neither is a job to push through with a quick fix.
Common Mistakes to Avoid
- Replacing the operator before you’ve checked the wiring. A failed low-voltage connection mimics a dead board. Test the wiring first, and you may save the cost of an operator entirely.
- Assuming a spring calibration issue means a new limit switch. Denver’s freeze-thaw movement often simply throws the switches out of position. Adjusting them is cheaper than replacing them, and the part usually isn’t at fault.
- Ignoring a slow gate. A gate that runs slower than it used to is usually telling you about a capacitor, a binding wheel, or a tired battery. Left alone, each of those gets worse and more expensive.
- Touching the control board to “see what happens.” That’s the step most likely to void a warranty and the one most likely to cause a shock. Record the code instead.
- Resetting a breaker without finding out why it tripped. A repeated trip points to a real fault. Reset once, note it, and if it trips again, get it diagnosed.
- Running a gate that’s off its track or dragging. Operating a binding slide gate can damage the operator arm and motor. Disengage it and call for help.
- Buying a part before confirming the code. Recording the blink pattern or display code first means you buy the right part, or none at all. It’s the difference between diagnosing and guessing.
When to Call a Professional
Call a technician when the problem is in the operator’s high-voltage wiring, when the gate is off its track, when a heavy panel is sagging or a hinge is pulling loose, or when the safety devices are involved and you can’t confirm the cause. Call if you’ve recorded an error code you don’t understand, if a breaker keeps tripping, or if you’ve replaced a part and the gate still misbehaves. And call if the gate is your only access point and it’s stuck. Those are the situations where a wrong guess costs more than a diagnosis.
Gate Repair Denver offers free estimates in Denver, and we’ll give you a written price before any work starts. The estimate sets the final price, so there are no surprises on the invoice. Call (855) 677-8291. We answer 24/7. Fast dispatch from 7am to 7pm, Sunday through Friday.
Frequently Asked Questions
A gate that reverses before closing almost always has a limit switch out of calibration or a blocked safety device, not a failing motor. Check the photo eyes and safety edges first, then record the operator’s blink code. If it only started after a thaw or heavy rain, Denver’s freeze-thaw ground movement is a likely cause. Call (855) 677-8291 for a free estimate if it needs a technician.
A gate that suddenly stops is usually a tripped breaker, a blown control fuse, a thermal cutout that needs to cool and reset, or a dead backup battery. It’s different from an intermittent gate, which points to a loose connection or a failing capacitor. Check the breaker first, then call us at (855) 677-8291 for a free estimate.
You can safely do the manual release check, clear debris from the track, clean the photo eyes, and record error codes. Everything inside the operator housing, including the control board, high-voltage terminals, and capacitors, should go to a trained technician. That’s where a shock risk and a warranty risk both live. Call (855) 677-8291 and we’ll diagnose it for you.
Freeze-thaw cycles move the soil, and that shifts the gate posts enough to throw limit switch positions off. It’s calibration drift, not a broken part. A technician recalibrates the operator and checks post and track alignment. Call (855) 677-8291 for a free estimate if your gate needs a spring adjustment.
Only if you open the operator housing or modify components, per typical manufacturer documentation. Manual release checks, track cleaning, and recording codes are owner-safe. If you’re unsure, the manual settles it. Call (855) 677-8291 and we’ll handle the diagnosis without risking your warranty.
We work on the brand you already own, across nine major gate-operator brands including LiftMaster, FAAC, and Elite. We’re independent and experienced with each, not tied to one manufacturer. Call (855) 677-8291 for a free estimate.
The Bottom Line
Most gate failures come down to six categories, and the fast diagnosis is to figure out which one you’re in before touching a part. Intermittent failures point to wiring or a capacitor; sudden failures point to power, a thermal cutout, or a battery. Denver’s freeze-thaw cycle is the most common reason a working gate goes out of adjustment each spring. Read the error code, write it down, and stop at the operator housing. The guesswork ends when the symptom maps to the right category, and that’s the whole point of gate repair troubleshooting. If you’d rather hand it to a specialist, we’re here for Denver and the surrounding metro.
Call (855) 677-8291 for a free estimate. We answer 24/7. Fast dispatch from 7am to 7pm, Sunday through Friday. Gate Repair Denver provides gate repair, electric gate repair, and gate installation, and we’ll quote the price in writing before any work starts.
Written by the team at Gate Repair Denver, serving Denver since 2015.
See the difference
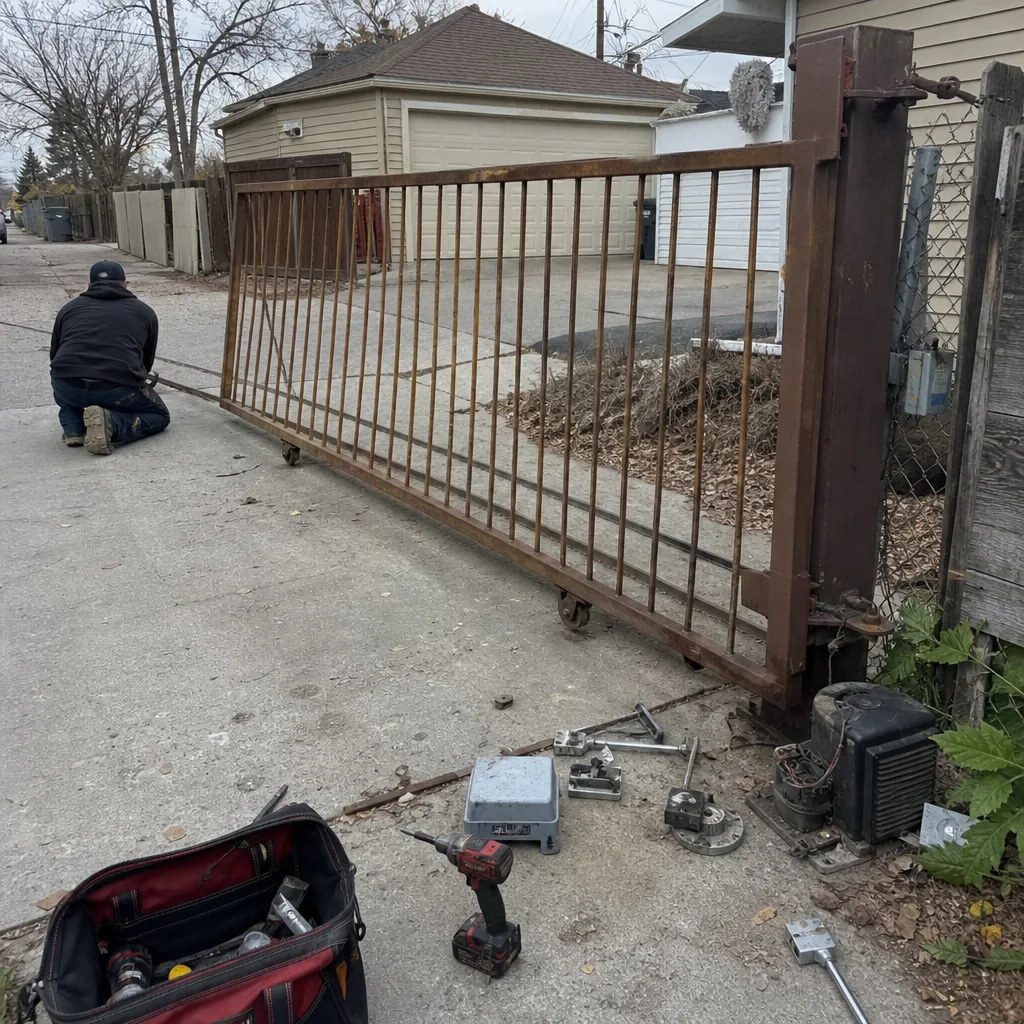 Before
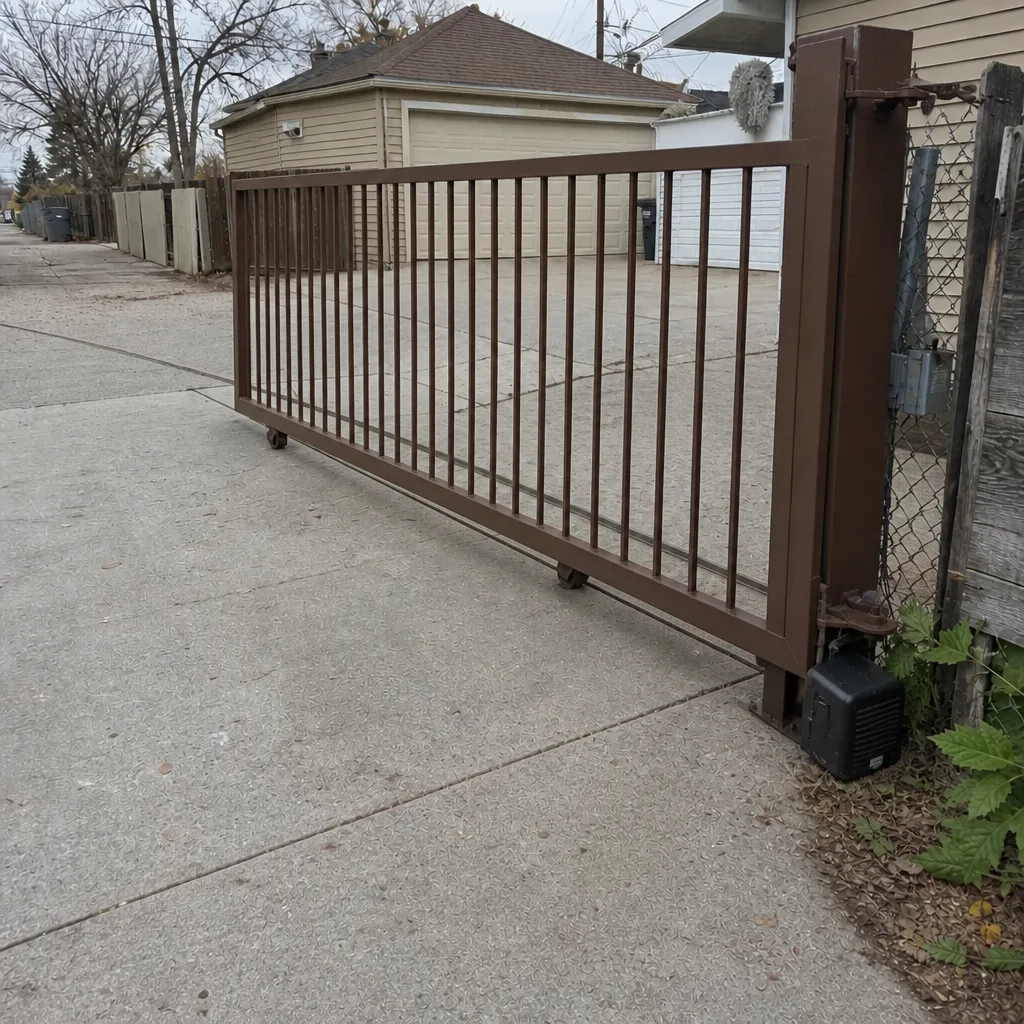 After
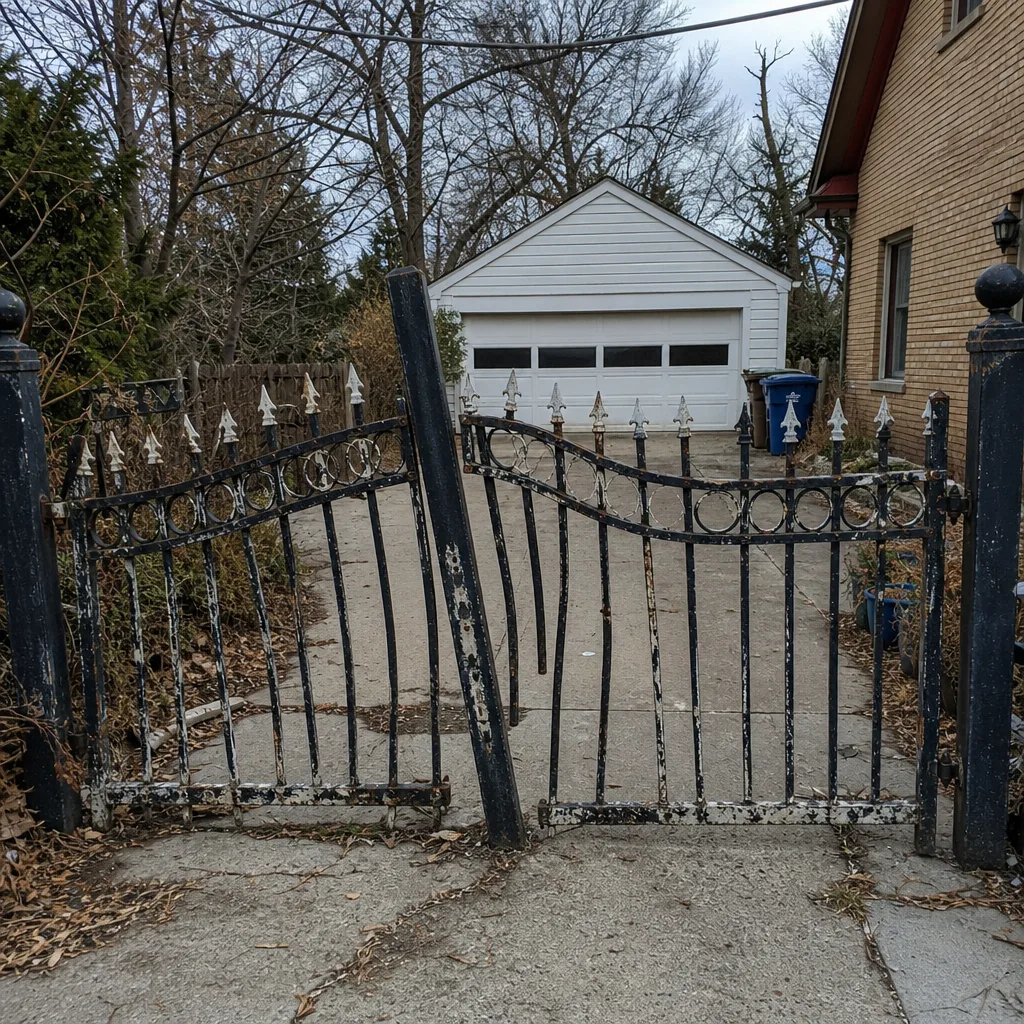 Before
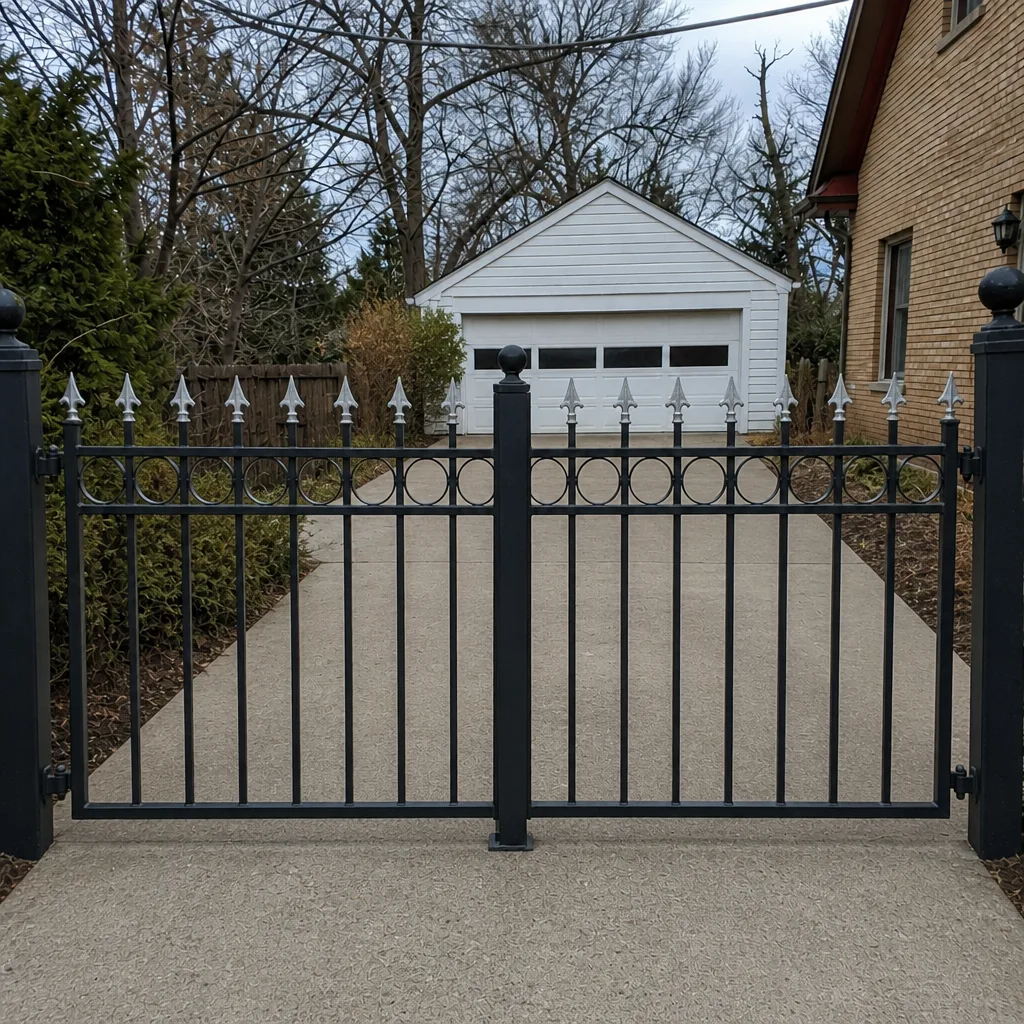 After
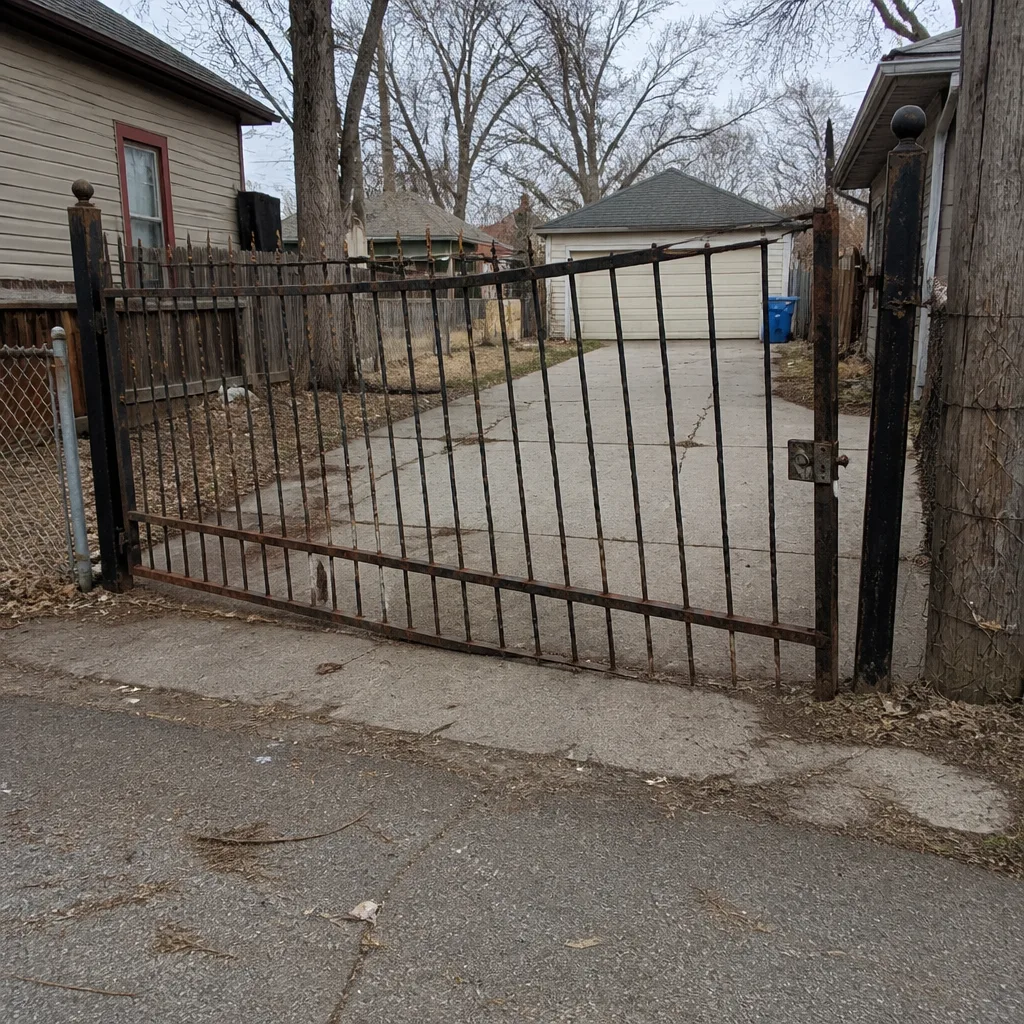 Before
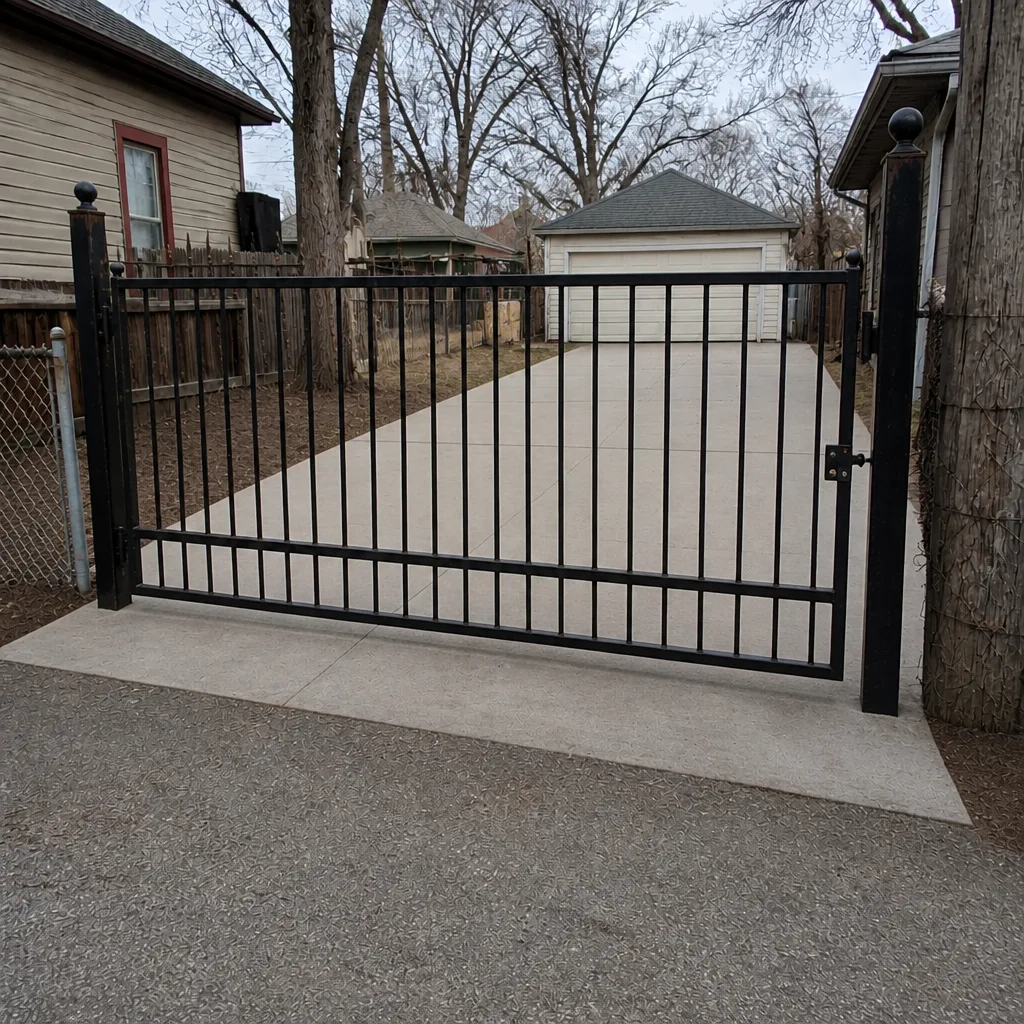 After